
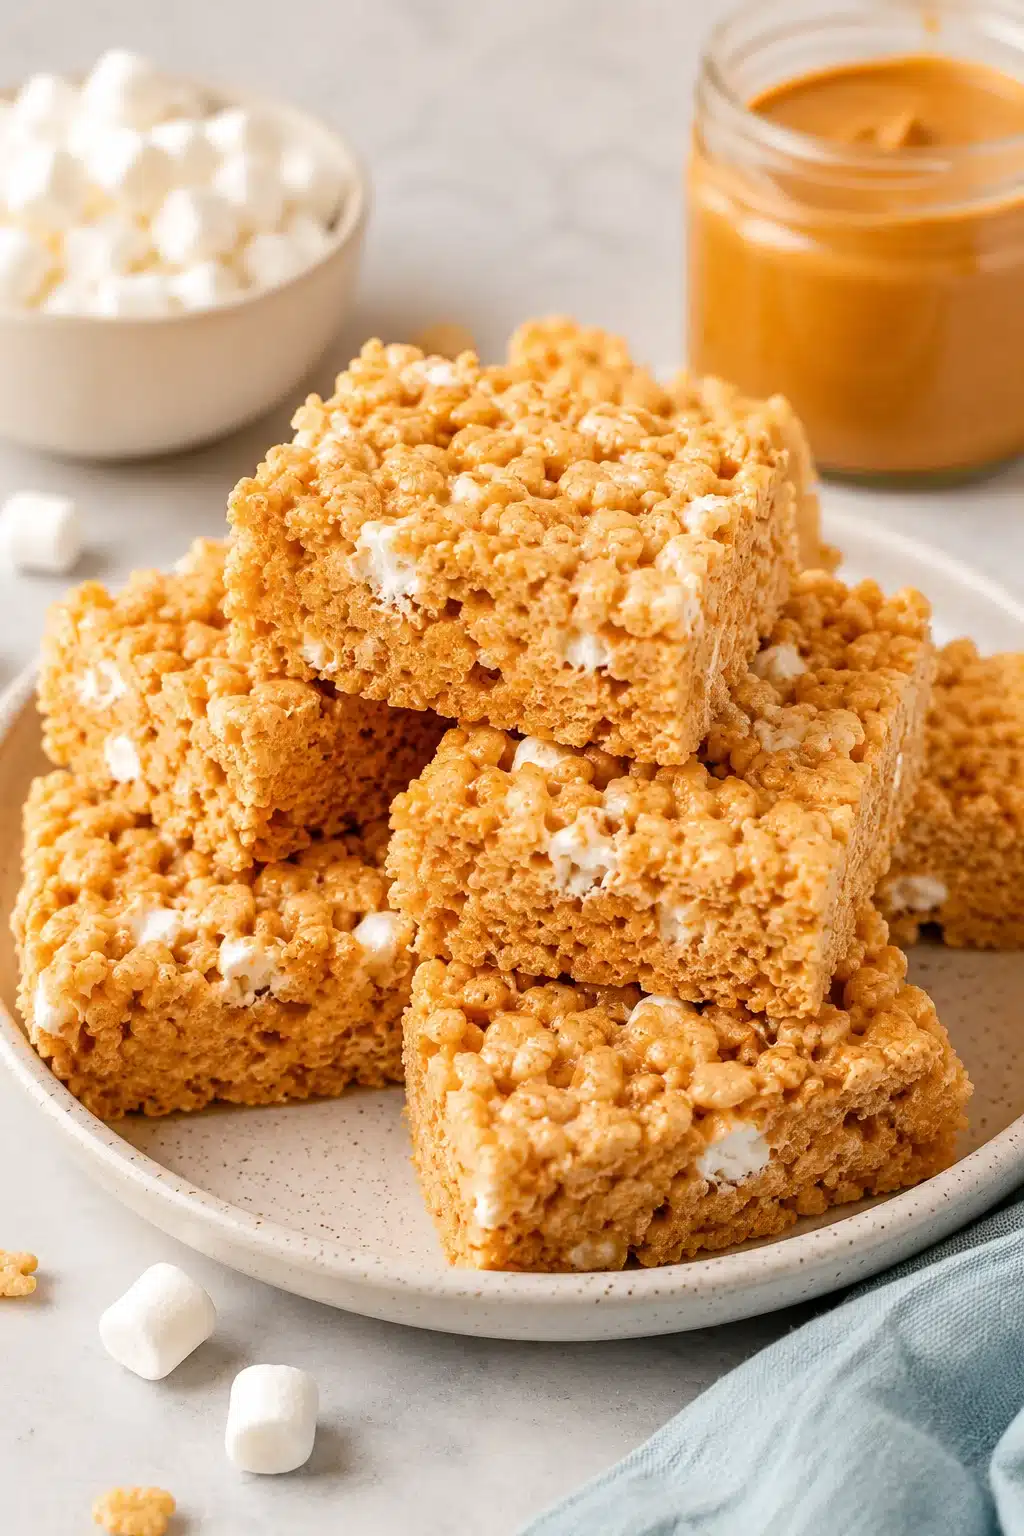
This Peanut Butter Rice Krispie Treats recipe is soft, chewy, and packed with rich peanut butter flavor. Ready with just one pot and simple pantry staples, these no bake treats are perfect for parties, lunch boxes, or an easy family dessert.
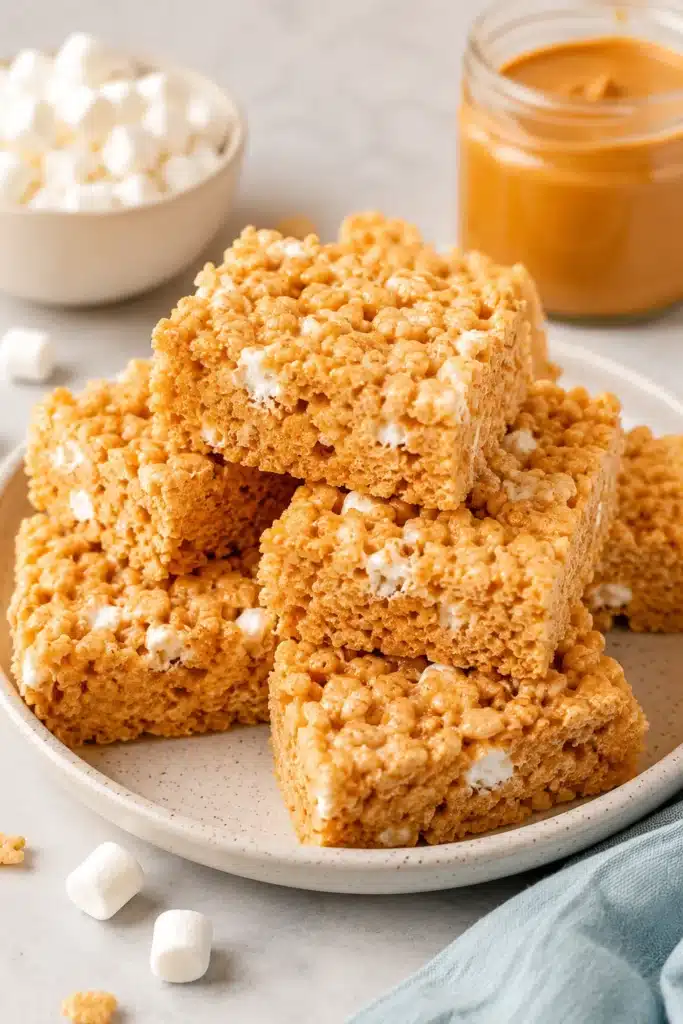
Table of Contents
Why You’ll Love These Peanut Butter Rice Krispie Treats
Peanut Butter Rice Krispie Treats are one of those desserts that everyone seems to love. They come together quickly, taste amazing, and require very little effort. If you need a last minute dessert, this recipe is always a great choice.
Better yet, you only need about 5 minutes of prep time and another 5 minutes of cooking. After that, the treats simply cool until they are ready to slice. As a result, they fit perfectly into busy days.
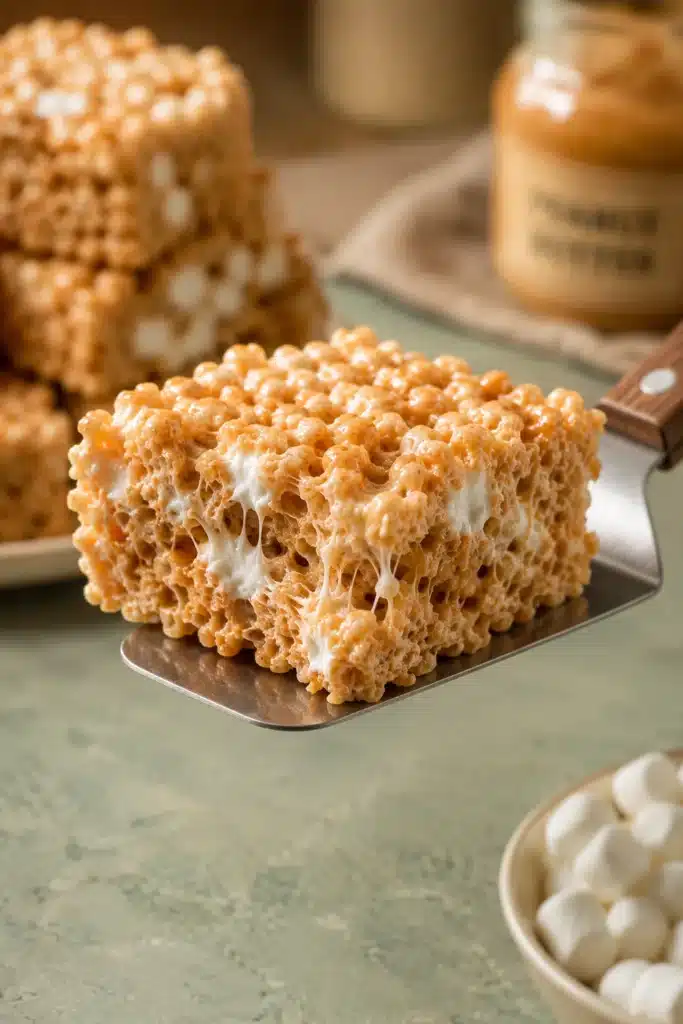
The combination of melted marshmallows, creamy peanut butter, and crispy Rice Krispies creates an irresistible texture. Every bite is soft, chewy, gooey, and lightly crisp. The extra mini marshmallows folded in at the end make them even more delicious.
Another reason to love Peanut Butter Rice Krispie Treats is their flexibility. You can keep them simple for everyday snacking or decorate them for birthdays, holidays, and school parties. Cookie cutters also make fun shapes for seasonal celebrations.
This recipe uses one pot, which means cleanup stays easy. Meanwhile, the ingredients are inexpensive and easy to find in almost any grocery store.
I love making these when I need something dependable that both kids and adults enjoy. They always disappear quickly, and friends often ask for the recipe before they leave.
Ingredients You’ll Need
You only need a handful of pantry staples to make these Peanut Butter Rice Krispie Treats. Each ingredient plays an important role in creating the perfect balance of flavor and texture.
Unsalted butter
Butter gives the marshmallow mixture a rich flavor and helps everything melt smoothly. It also keeps the treats soft.
Mini marshmallows
Use 10 ounces of mini marshmallows for melting. Then, if you like extra gooey treats, fold in another 2 cups at the end. Fresh marshmallows always give the best texture.
Creamy peanut butter
Regular creamy peanut butter works best because it blends smoothly with the melted marshmallows. It creates a rich peanut butter flavor without making the mixture oily.
Vanilla extract
Vanilla adds warmth and rounds out the sweetness. Although you only need one teaspoon, it makes a noticeable difference.
Fine sea salt
A little salt balances the sweetness and brings out the peanut butter flavor.
Rice Krispies cereal
Six cups of Rice Krispies cereal provide the signature crispy texture. Stir gently so the cereal stays crunchy.
Before you begin, measure every ingredient. The marshmallow mixture sets quickly, so having everything ready makes the process much easier.
This recipe makes 16 generous servings. It takes only 5 minutes to prepare, 5 minutes to cook, and about 1 hour to cool before slicing.
Ingredient Notes and Easy Substitutions
Regular creamy peanut butter gives the most consistent results. However, crunchy peanut butter also works if you enjoy extra texture in every bite.
If you only have regular marshmallows, you can substitute about 40 of them for the melted mini marshmallows. Still, mini marshmallows remain the better choice for folding into the mixture because they stay soft and gooey.
You can also change the pan size depending on the thickness you prefer. An 8 inch square pan creates thicker bars, while a 9 by 13 inch pan makes thinner treats. If you need more servings, simply double the recipe and use a larger pan.
For extra flavor, stir in chopped peanuts, colorful sprinkles, candy pieces, or drizzle melted chocolate over the cooled bars. These simple additions make Peanut Butter Rice Krispie Treats perfect for holidays and celebrations.
How to Make Peanut Butter Rice Krispie Treats
Making Peanut Butter Rice Krispie Treats is fast and simple. The entire cooking process takes about 10 minutes. Then, all you need is a little patience while the treats cool and firm up.
Step 1: Prepare the Baking Pan
Lightly grease a 9 inch square baking pan with butter or nonstick cooking spray.
You can also line the pan with parchment paper. As a result, lifting the treats out becomes much easier once they have cooled.
Measure all of your ingredients before turning on the stove. The marshmallow mixture thickens quickly, so being prepared helps everything come together smoothly.
Step 2: Melt the Butter and Marshmallows
Place the butter and 10 ounces of mini marshmallows into a large pot over medium heat.
Stir constantly until the butter melts completely and the marshmallows become smooth and creamy. Avoid high heat because it can make the marshmallows tough instead of soft.
Once the mixture looks silky, remove the pot from the heat.
Step 3: Stir in the Peanut Butter and Flavorings
Add the creamy peanut butter, vanilla extract, and fine sea salt to the melted marshmallow mixture.
Stir until everything combines into a smooth, glossy mixture. The peanut butter should blend completely without any streaks.
At this stage, the mixture will smell wonderfully rich and sweet, making it hard to wait for the finished treats.
Step 4: Fold in the Rice Krispies Cereal
Add the Rice Krispies cereal a little at a time.
Gently fold the cereal into the marshmallow mixture until every piece is evenly coated. Stir carefully because pressing too hard can crush the cereal and reduce its crunch.
Step 5: Add Extra Mini Marshmallows
If you want extra gooey Peanut Butter Rice Krispie Treats, gently fold in the remaining 2 cups of mini marshmallows.
Because the mixture has cooled slightly, many of the marshmallows stay whole. As a result, every bite has little pockets of soft marshmallow.
Step 6: Press Into the Pan and Cool
Transfer the mixture to the prepared baking pan.
Lightly grease your hands or a spatula before pressing the mixture into an even layer. Press gently instead of packing it tightly. This simple step keeps the treats soft and chewy.
Let the pan sit at room temperature for about 1 hour until completely set.
Step 7: Slice and Serve
Once the Peanut Butter Rice Krispie Treats have cooled, lift them from the pan if you used parchment paper.
Cut into 16 squares using a sharp knife.
Serve immediately, or store them in an airtight container for a quick snack or dessert throughout the week. Freshly made treats always have the softest texture and the richest peanut butter flavor.
Expert Tips for Soft, Chewy, Gooey Treats
Making perfect Peanut Butter Rice Krispie Treats is easy when you follow a few simple tips. Small details make a big difference in the final texture.
First, use fresh marshmallows. Fresh marshmallows melt smoothly and create treats that stay soft for days. Older marshmallows often become dry and do not melt as well.
Next, cook over medium heat. High heat can make the marshmallow mixture firm instead of chewy. Stir gently until everything melts into a smooth mixture.
Also, measure every ingredient before you begin. Since the mixture sets quickly, having everything ready helps you work without rushing.
Choose regular creamy peanut butter instead of natural peanut butter. Regular peanut butter blends more smoothly and creates the best consistency.
When adding the cereal, fold it gently. This helps keep the Rice Krispies crisp instead of crushed.
If you enjoy extra gooey bites, fold in the additional mini marshmallows after removing the pot from the heat. They soften slightly without completely melting.
Another helpful tip is to press the mixture lightly into the pan. Avoid packing it down firmly because tightly packed treats become dense and firm.
If the mixture sticks to your hands or spatula, lightly grease them with butter or cooking spray. You can also place a piece of parchment paper on top while pressing.
Finally, allow the treats to cool completely before slicing. Waiting about one hour helps them hold their shape while staying perfectly soft and chewy.
Fun Variations and Tasty Add Ins
Peanut Butter Rice Krispie Treats are easy to customize for every season or celebration. A few simple additions can create a completely different dessert.
You can stir chopped peanuts into the cereal mixture for extra crunch. Meanwhile, colorful candy pieces make these treats fun for birthdays and family gatherings.
Chocolate chips also work well. However, let the mixture cool slightly before adding them so they keep their shape.
Sprinkles add bright color for holidays, baby showers, or school events. You can even cut the finished treats into fun shapes with cookie cutters.
Chocolate Peanut Butter Version
Chocolate and peanut butter are always a winning combination.
Drizzle melted milk chocolate, dark chocolate, or white chocolate over the cooled bars. You can also dip half of each square into melted chocolate for a bakery style finish.
For even more chocolate flavor, sprinkle mini chocolate chips over the top before the chocolate sets.
Crunchy Peanut Butter Twist
Crunchy peanut butter creates a slightly different texture while keeping the same rich flavor.
The chopped peanuts add little bites of crunch throughout each square. If you enjoy nutty desserts, this version is a great choice.
You can also mix in roasted peanuts for even more texture.
Holiday and Party Decorations
These Peanut Butter Rice Krispie Treats are easy to decorate for any occasion.
Top them with festive sprinkles, colorful candies, or crushed cookies before they cool completely. Then cut them into hearts, stars, pumpkins, or Christmas trees with cookie cutters.
Kids especially enjoy helping decorate these fun treats.
Storage and Freezing Tips
Peanut Butter Rice Krispie Treats stay fresh for several days when stored correctly. They also freeze well, making them a great make ahead dessert.
Proper storage helps maintain their soft and chewy texture. As a result, every bite tastes almost as fresh as the day you made them.
How to Store at Room Temperature
Place the cooled treats in an airtight container.
Separate each layer with parchment paper or wax paper to prevent sticking. Store the container at room temperature for 3 to 4 days.
Avoid refrigerating the treats because cold temperatures can make them firm and less chewy.
How to Freeze for Later
Wrap each Peanut Butter Rice Krispie Treat individually with plastic wrap.
Next, place the wrapped bars into a freezer safe bag or airtight container. Freeze them for up to 6 weeks.
When you are ready to enjoy one, let it thaw at room temperature for 15 to 20 minutes. The texture becomes soft and chewy again without any extra work.
Serving Ideas for Every Occasion
Peanut Butter Rice Krispie Treats are perfect for almost any event. They are easy to pack, simple to serve, and loved by both kids and adults.
Serve them on a dessert tray with cookies, brownies, and fresh fruit. They also make a great addition to birthday parties, bake sales, school lunches, and holiday gatherings.
For an extra special dessert, drizzle warm chocolate over each square just before serving. You can also pair them with vanilla ice cream or a cold glass of milk.
If you are making treats for a celebration, wrap individual squares in clear bags with colorful ribbon. They become thoughtful homemade gifts that everyone appreciates.
Craving More Delicious Recipes?
If you love easy homemade desserts, try one of these reader favorites next:
- Easy no bake banana cream pudding cheesecake for creamy dessert lovers
https://ketoatmeal.com/no-bake-banana-cream-pudding-cheesecake/ - Bright and buttery strawberry lemon bars with fresh fruit flavor
https://ketoatmeal.com/strawberry-lemon-bars/ - Creamy lemon blueberry mini cheesecakes for bite sized desserts
https://ketoatmeal.com/lemon-blueberry-mini-cheesecakes/ - Classic homemade blueberry cobbler with juicy berries
https://ketoatmeal.com/blueberry-cobbler/ - Creamy and refreshing homemade key lime pie recipe
https://ketoatmeal.com/best-key-lime-pie/ - Tropical pina colada cake for easy summer celebrations
https://ketoatmeal.com/pina-colada-cake/
Final Thoughts
Peanut Butter Rice Krispie Treats are the kind of dessert you’ll want to make again and again. They are quick, affordable, and always a crowd favorite. With just a few pantry staples and one pot, you can create soft, chewy bars packed with rich peanut butter flavor.
Whether you keep them classic or add chocolate, sprinkles, or chopped nuts, this recipe is easy to customize for birthdays, holidays, or everyday treats. If you make this recipe, be sure to save it for later and follow us on Pinterest for even more easy dessert ideas and family favorites: https://www.pinterest.com/ketoatmeal/. Happy baking!