
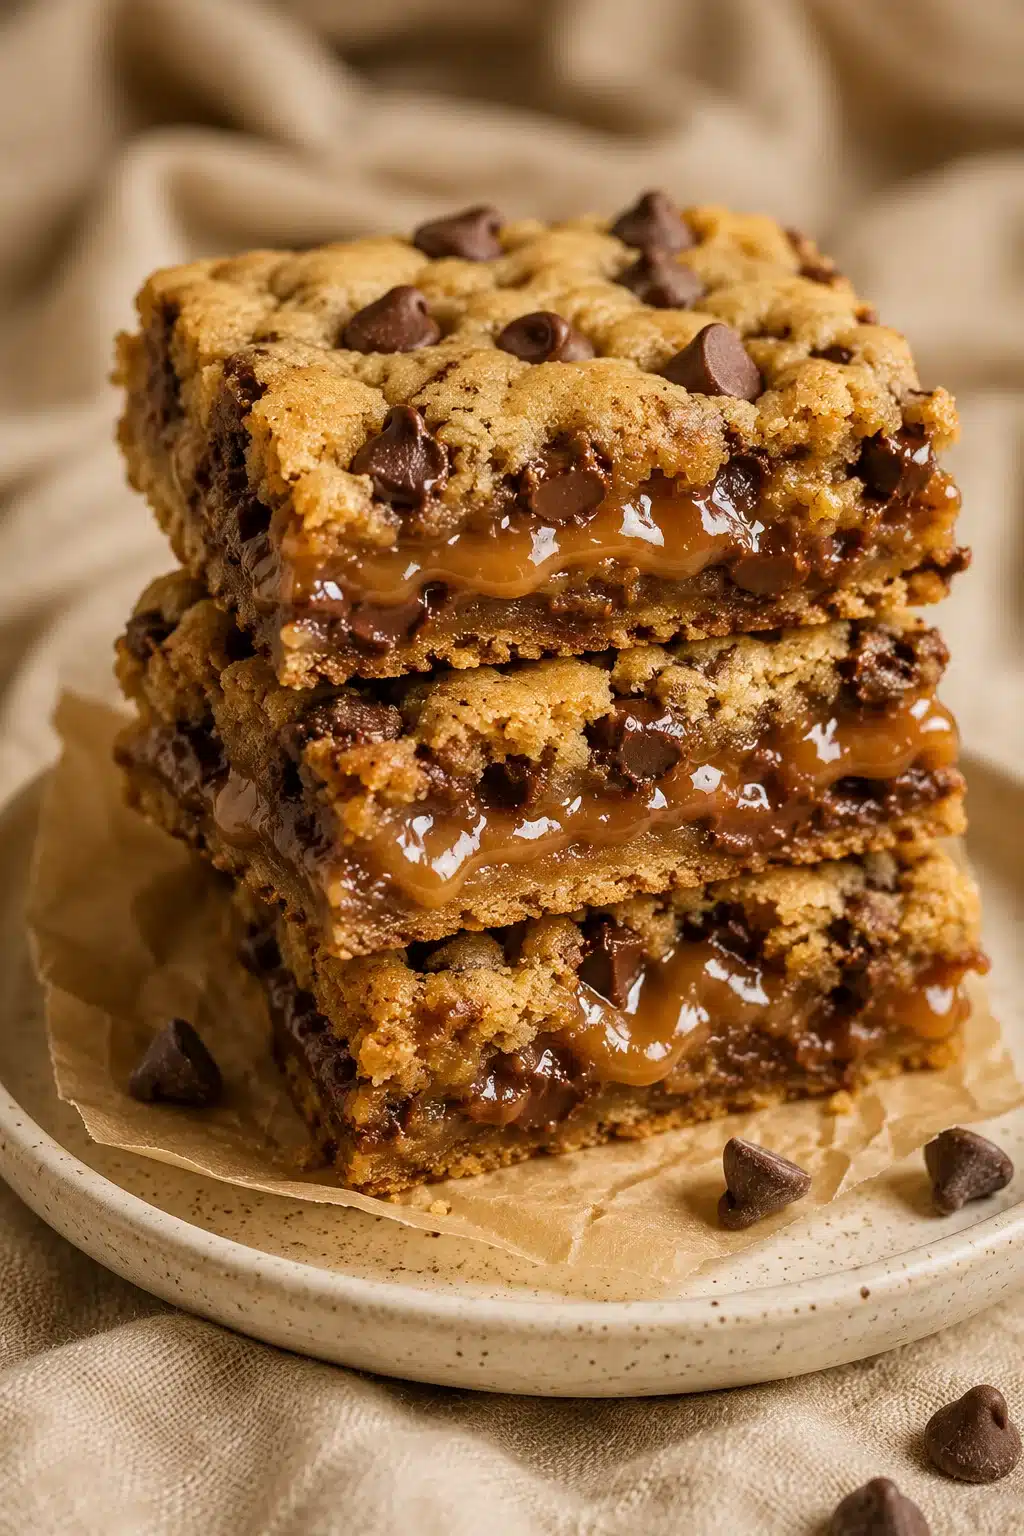
This Quick and Easy Carmelitas recipe is the perfect dessert when you want something rich, gooey, and simple to make. Ready in just 40 minutes with only 4 main ingredients, these caramel filled cookie bars are always a crowd favorite.
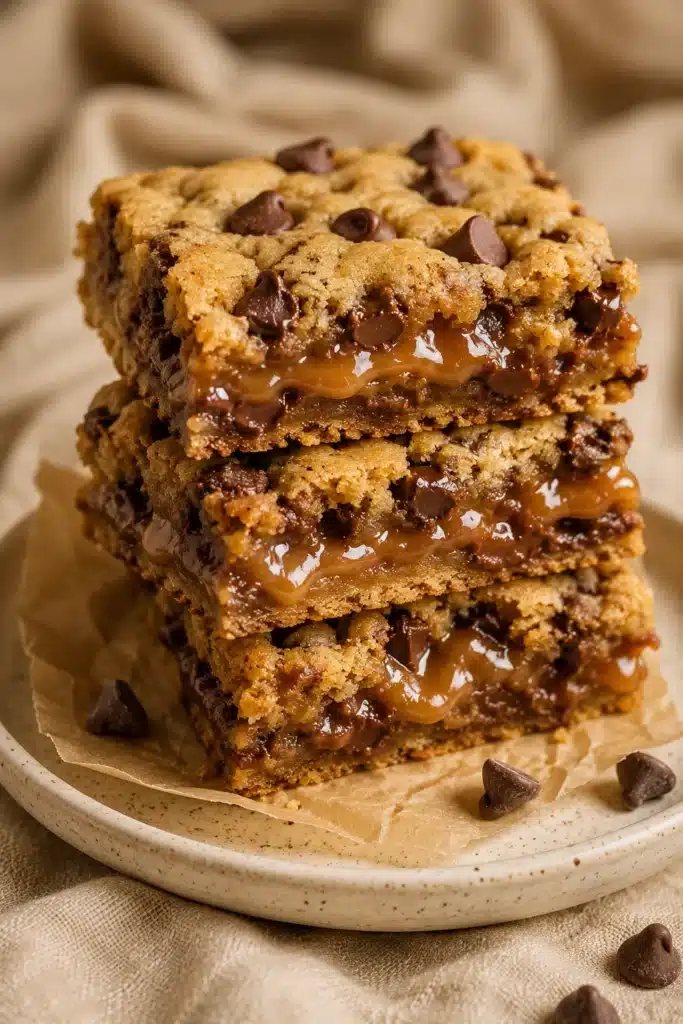
Table of Contents
Why You’ll Love This Quick and Easy Carmelitas Recipe
If you love chocolate and caramel together, this Quick and Easy Carmelitas recipe belongs on your baking list. Every bite has a soft chocolate chip cookie layer, warm melted caramel, and plenty of chocolate. As a result, these dessert bars disappear fast.
Another reason to love this recipe is its simplicity. You only need four main ingredients, and most grocery stores carry everything you need. So, you can put these bars together without making a special shopping trip.
The prep work also takes only about five minutes. Then the oven does most of the work while your kitchen fills with the smell of freshly baked cookies and caramel.
Although these bars taste like they came from a bakery, they are surprisingly easy to make. Even beginner bakers can enjoy great results by following a few simple steps.
Meanwhile, the chilled caramel becomes perfectly firm without turning hard. That means every slice holds together beautifully while staying soft and gooey inside.
This recipe also works well for birthdays, family dinners, holiday cookie trays, bake sales, and potlucks. Because the bars are rich, you can cut them into smaller squares for serving a larger group.
I love making these when I need a dependable dessert without spending hours in the kitchen. In fact, they have become one of my favorite last minute treats because everyone always asks for another piece.
What Are Carmelitas?
Carmelitas are layered dessert bars made with a cookie base, gooey caramel filling, melted chocolate, and another layer of cookie dough on top. After baking, they chill until the caramel sets, making every slice neat and delicious.
Traditional recipes often use homemade oatmeal cookie dough. However, this Quick and Easy Carmelitas recipe uses refrigerated chocolate chip cookie dough instead. As a result, preparation becomes much faster without giving up great flavor.
The finished bars have several wonderful textures. The bottom stays soft and buttery, while the center becomes rich and gooey. Meanwhile, the top turns lightly golden with slightly crisp edges.
Chocolate chips melt into the caramel during baking. Therefore, every bite combines creamy chocolate with smooth caramel and tender cookie layers.
Although these bars look impressive, they require very little effort. That makes them perfect for busy weekdays, holiday baking, or anytime you want a comforting homemade dessert.
Once chilled, the caramel holds its shape beautifully. Then letting the bars sit at room temperature for about 15 minutes before serving makes slicing even easier.
Ingredients You’ll Need
Making Quick and Easy Carmelitas could not be much easier because this recipe uses only four simple ingredients. Together, they create rich layers of cookie, chocolate, and caramel that taste completely homemade.
The 4 Simple Ingredients
30 ounces refrigerated chocolate chip cookie dough
This forms both the bottom crust and the crumbly topping. Chilled dough spreads evenly and bakes into soft, buttery cookie layers.
11 ounces soft caramels, unwrapped
Soft caramels melt into a smooth filling that becomes perfectly gooey after baking and chilling.
1/4 cup evaporated milk
The evaporated milk helps the caramel melt into a silky sauce. As a result, it spreads evenly across the cookie layer.
1 cup semi sweet chocolate chips
Chocolate chips melt beautifully under the warm caramel. They add rich chocolate flavor that balances the sweet caramel.
Optional Homemade Ingredient Swaps
If you prefer homemade baking, you can easily customize this Quick and Easy Carmelitas recipe.
Homemade chocolate chip cookie dough works very well. However, chill it before baking so it spreads properly.
You can also replace the packaged caramels with homemade caramel sauce. A slightly thicker caramel works best because it stays inside the layers after baking.
Meanwhile, dark chocolate chips create a richer flavor, while milk chocolate chips make the bars even sweeter.
No matter which option you choose, the dessert stays rich, soft, and wonderfully gooey.
How to Make Quick and Easy Carmelitas
This Quick and Easy Carmelitas recipe comes together in just a few simple steps. Although the process is easy, following each step carefully gives you the best layers and the perfect gooey center.
Prepare and Bake the Cookie Base
Preheat your oven to 350°F. Then line a 9 inch square baking pan with parchment paper. The parchment makes lifting and slicing the finished bars much easier.
Next, press a little more than half of the refrigerated chocolate chip cookie dough evenly into the bottom of the prepared pan.
Bake the crust for 20 to 25 minutes until it becomes lightly golden around the edges.
After baking, remove the pan from the oven and let the cookie base cool for several minutes. This short cooling time helps the layers stay separate.
Melt the Caramel Filling
While the crust cools, place the unwrapped soft caramels and evaporated milk into a microwave safe bowl.
Microwave for one minute. Then stir the mixture before heating in 30 second intervals until completely smooth.
Keep stirring after each heating period. Soon the caramel becomes silky and easy to pour.
Layer the Chocolate and Caramel
Scatter the semi sweet chocolate chips evenly across the warm cookie crust.
Next, slowly pour the melted caramel over the chocolate chips. Use a spatula to spread it gently into an even layer.
As the warm caramel touches the chocolate, some of the chips begin melting. Therefore, every bite becomes extra rich and creamy.
Add the Cookie Dough Topping
Take the remaining cookie dough and crumble small pieces evenly over the caramel.
Do not completely cover the caramel layer. Instead, leave small openings where the caramel can bubble slightly during baking.
This creates the classic homemade Carmelitas appearance with beautiful golden cookie pieces across the top.
Bake, Chill, and Slice
Return the pan to the oven and bake for another 12 to 15 minutes until the cookie topping turns lightly golden.
Remove the pan and allow the bars to cool completely at room temperature.
Next, refrigerate the pan for at least 2 hours. This step is very important because the caramel needs time to firm up before slicing.
Finally, let the bars rest at room temperature for about 15 minutes before cutting into 16 squares.
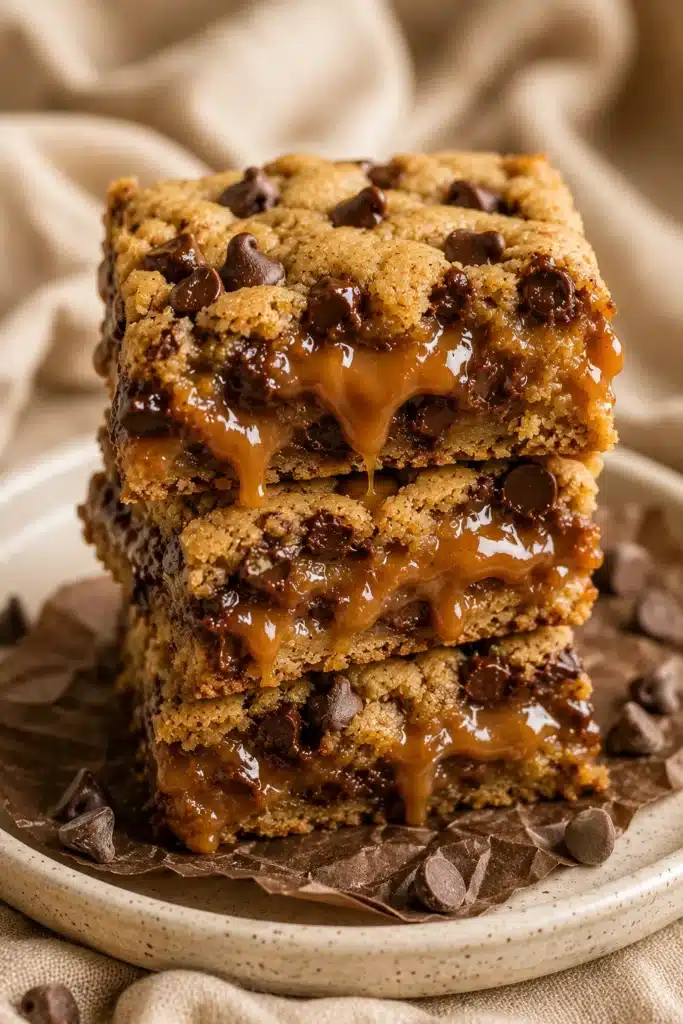
Each bar has a soft cookie base, gooey caramel center, melted chocolate, and a lightly crisp cookie topping. As a result, every bite tastes rich, comforting, and completely irresistible.
Tips for the Best Carmelitas Every Time
Making Quick and Easy Carmelitas is simple. However, a few helpful tips will give you soft cookie layers and a perfectly gooey caramel center every time.
How to Get Perfect Gooey Layers
Start with chilled refrigerated cookie dough. It holds its shape better while baking and creates thick, tender layers.
Also, bake the bottom crust until it is lightly golden. A fully baked base supports the caramel without becoming soggy.
When melting the caramels, stir well after every heating interval. This keeps the mixture smooth and prevents hot spots from burning the caramel.
Next, spread the caramel evenly over the chocolate chips. Every bite should have the same rich balance of chocolate and caramel.
Do not skip the chilling time. Refrigerating the bars for at least two hours allows the caramel to set properly. As a result, the bars slice cleanly without the filling running out.
Finally, let the chilled bars sit at room temperature for about 15 minutes before cutting. This small step makes slicing much easier.
Common Mistakes to Avoid
Avoid overbaking the second bake. The topping should be lightly golden instead of dark brown.
Do not cover the caramel completely with cookie dough. Leaving small gaps creates the classic Carmelitas look and allows the caramel to bubble gently.
Another common mistake is cutting the bars too soon. Warm caramel stays very soft and makes messy slices.
Meanwhile, using thin homemade caramel sauce can make the filling too runny. If you make homemade caramel, choose a thicker consistency for the best results.
Storage, Freezing, and Make Ahead Tips
One reason I love Quick and Easy Carmelitas is how well they store. In fact, they taste just as delicious the next day.
How to Store Carmelitas
Store the cooled bars in an airtight container at room temperature for up to three days.
If your kitchen is warm, refrigerate them instead. They will stay fresh for up to one week.
Before serving refrigerated bars, let them rest on the counter for about 15 minutes. The caramel softens slightly, and the texture becomes even better.
Can You Freeze Carmelitas?
Yes. These dessert bars freeze beautifully.
Wrap individual bars or the entire pan tightly with plastic wrap and foil. Then place them in a freezer safe container or bag.
Freeze for up to three months.
When you are ready to enjoy them, thaw the bars at room temperature for about 15 minutes. They will taste almost as fresh as the day you baked them.
You can also prepare Quick and Easy Carmelitas a day ahead for parties or holiday gatherings. The extra chilling time actually helps the bars slice more neatly.
Recipe Variations and Easy Add Ins
Although Quick and Easy Carmelitas are delicious exactly as written, you can easily change the flavors with a few simple additions.
Chocolate Lovers’ Version
For even more chocolate, use dark chocolate chips instead of semi sweet chips.
You can also mix white chocolate chips with milk chocolate chips for extra richness.
Meanwhile, a drizzle of melted chocolate over the cooled bars makes them look even more tempting.
Chocolate lovers may also enjoy adding mini chocolate chunks between the caramel and cookie layers.
Nutty and Salted Caramel Variations
Chopped pecans or walnuts add a pleasant crunch to every bite.
Sprinkle the nuts over the chocolate chips before pouring on the caramel.
If you enjoy sweet and salty desserts, lightly sprinkle flaky sea salt over the caramel before adding the top cookie dough.
The salt balances the sweetness and brings out the caramel flavor even more.
You can also stir a splash of vanilla into homemade caramel sauce before layering it into the bars.
No matter which variation you choose, Quick and Easy Carmelitas stay soft, rich, and full of irresistible flavor.
Craving More Delicious Recipes?
If you enjoyed these Quick and Easy Carmelitas, you may also love these easy dessert recipes.
- Creamy no bake Key Lime Pie Lush for another easy layered dessert
https://ketoatmeal.com/key-lime-pie-lush/ - Fruity Strawberry Lemon Bars with a buttery crust
https://ketoatmeal.com/strawberry-lemon-bars/ - Rich and creamy Sweet Strawberry Shortcake Cheesecake Rolls
https://ketoatmeal.com/sweet-strawberry-shortcake-cheesecake-rolls/ - Homemade Ice Cream Cake for birthdays and celebrations
https://ketoatmeal.com/ice-cream-cake/ - Flaky Caramel Apple Empanadas packed with warm caramel flavor
https://ketoatmeal.com/caramel-apple-empanadas/ - Easy Chocolate Strawberry Yogurt Clusters for a no bake chocolate treat
https://ketoatmeal.com/chocolate-strawberry-yogurt-clusters/
For even more dessert inspiration, visit our Pinterest page at https://www.pinterest.com/ketoatmeal/.
Final Thoughts
This Quick and Easy Carmelitas recipe proves that an impressive dessert does not have to be difficult. With only four main ingredients and just a few easy steps, you can create rich cookie bars filled with gooey caramel and melted chocolate.
Whether you bake them for a holiday, family gathering, or simply to satisfy a sweet craving, these bars always make people smile. Better yet, they store well and freeze beautifully, so you can enjoy them whenever the craving strikes. Once you try this recipe, it may become one of your favorite homemade desserts.