
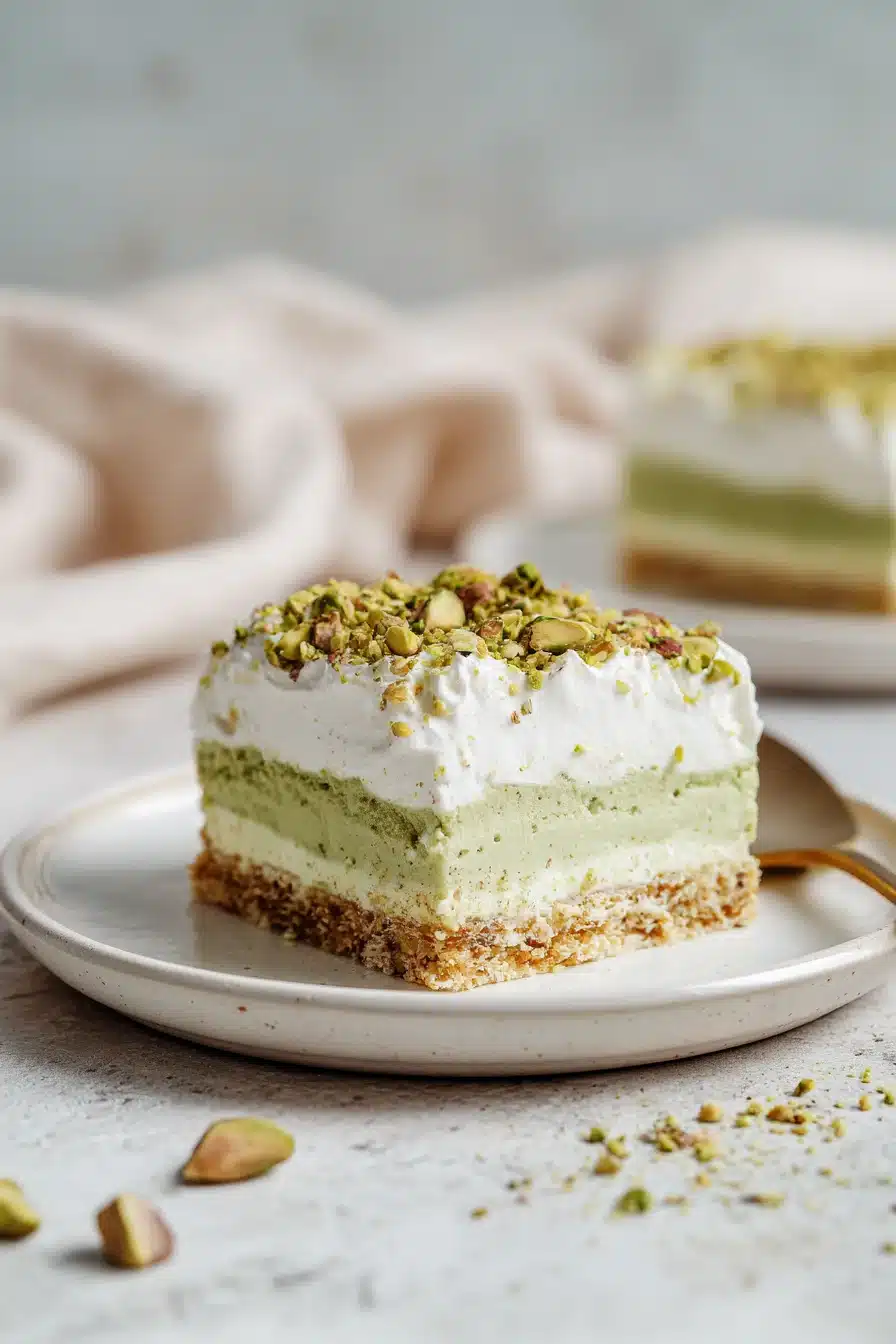
This Pistachio Dream Bars recipe is a creamy, no bake dessert that feels light and indulgent. Ready with simple ingredients and chill time, it is perfect for parties. If you love layered treats, this one is a must try.
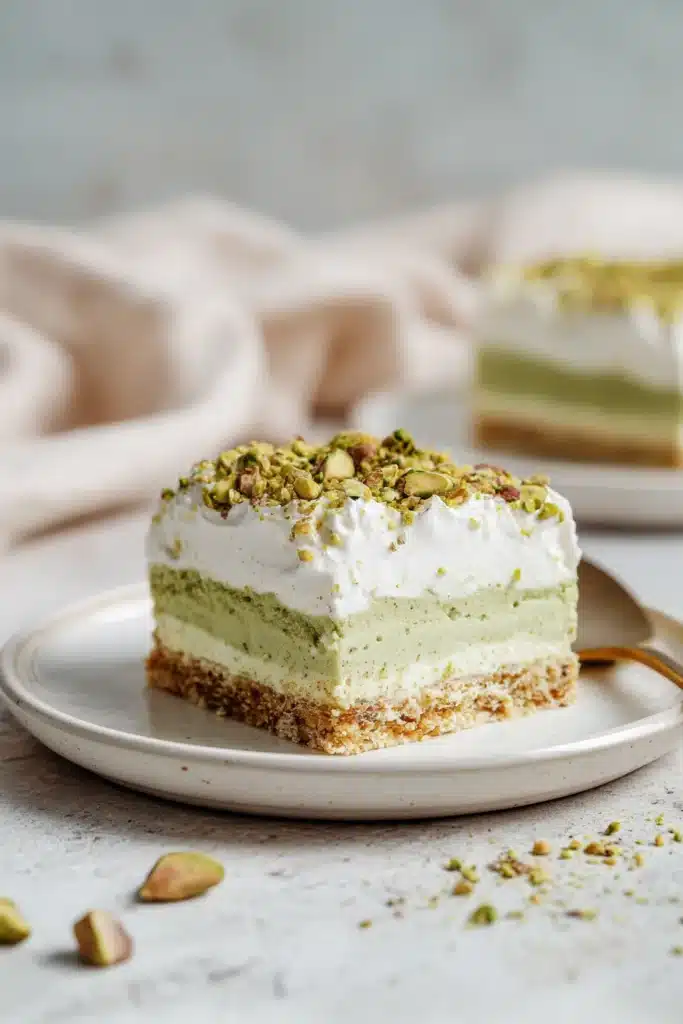
Table of Contents
Why You’ll Love These Pistachio Dream Bars
Pistachio Dream Bars bring together creamy layers, a buttery crust, and a soft pudding topping. Each bite feels smooth and slightly nutty, which makes them hard to resist. Also, you do not need an oven, so preparation stays quick and stress free.
These bars work well for holidays, potlucks, or casual family nights. In fact, you can prepare them ahead, which saves time when hosting. If you enjoy easy layered dessert ideas for special occasions, this recipe fits right in.
Moreover, the texture stands out. The crust stays firm, while the filling remains fluffy and light. As a result, every slice looks clean and tastes balanced.
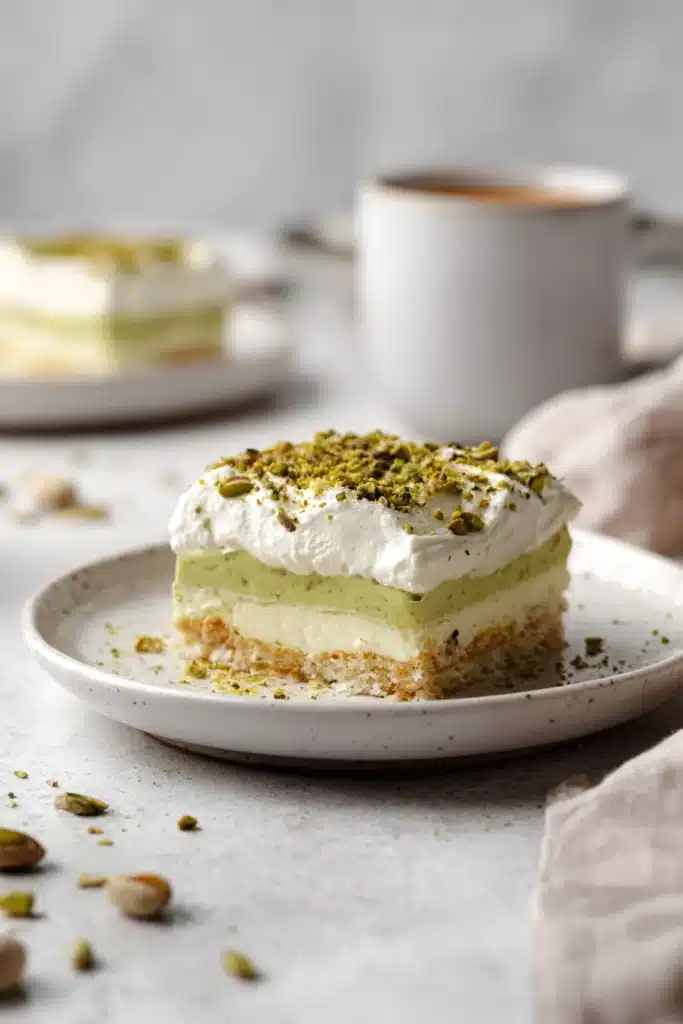
Easy No-Bake Dessert
This recipe keeps things simple. You mix, layer, and chill, then it is ready to serve. Also, you avoid baking, which helps during warm days.
Meanwhile, the ingredients are easy to find. So, you can make these Pistachio Dream Bars anytime without extra planning.
Perfect for Make-Ahead Treats
These bars actually taste better after chilling for a few hours. Therefore, you can prepare them the night before.
In addition, they hold their shape well once set. That means you can slice and serve without stress during gatherings.
Ingredients You’ll Need
This recipe uses pantry staples and a few chilled ingredients. Each layer adds its own texture and flavor, so everything works together smoothly.
Here is a quick breakdown of what you need.
Crust Layer Ingredients
You will need graham cracker crumbs and melted butter. Mix them until evenly coated.
Then, press the mixture into a pan to create a firm base. After that, chill it so it sets properly before adding layers.
Cream Cheese Layer Ingredients
Use cream cheese and powdered sugar for a smooth filling. Blend until creamy and lump free.
Next, fold in whipped topping. This step keeps the mixture light and airy, which helps the layers stay soft.
Pistachio Pudding Layer Ingredients
You need instant pistachio pudding mix and milk. Whisk until thick.
Then, gently fold in whipped topping. This creates a fluffy layer with a soft pistachio flavor. Finally, keep extra whipped topping and chopped pistachios ready for garnish.
How to Make Pistachio Dream Bars
Making Pistachio Dream Bars feels simple once you follow the steps. Each layer builds on the last, so take your time and chill between steps.
Step 1: Prepare and Chill the Graham Cracker Crust
First, mix graham cracker crumbs with melted butter until evenly moistened.
Next, press the mixture firmly into a lined pan. Make sure the surface looks even. Then, place it in the fridge and let it chill until firm.
Step 2: Make the Creamy Cheesecake Layer
Beat cream cheese with powdered sugar until smooth. Make sure no lumps remain.
After that, fold in part of the whipped topping. Keep the mixture light while mixing. Then, spread this layer evenly over the chilled crust.
Step 3: Prepare the Pistachio Pudding Filling
Whisk the pistachio pudding mix with milk until it thickens.
Next, fold in whipped topping gently. This step adds a fluffy texture. Meanwhile, avoid overmixing so the layer stays airy.
Step 4: Assemble the Layers and Chill Until Set
Spread the pudding mixture over the cream cheese layer evenly.
Then, top with remaining whipped topping and smooth the surface. After that, refrigerate for several hours until fully set.
Finally, sprinkle chopped pistachios before serving. Slice once firm for clean bars.
Pro Tips for Perfect Layers Every Time
Chill Between Layers for Clean Slices
Always chill each layer before adding the next. This step helps prevent mixing between layers.
As a result, your Pistachio Dream Bars will look neat and professional when sliced.
Use Full-Fat Ingredients for Better Texture
Full fat cream cheese gives a richer and more stable layer.
Also, it helps the bars hold their shape better after chilling, which improves the final texture.
Fold Gently for Light and Airy Filling
When adding whipped topping, fold gently instead of stirring hard.
This keeps the mixture fluffy. Meanwhile, overmixing can make the filling dense.
Fun Variations and Substitutions
Swap the Pudding Flavor
You can switch pistachio pudding with vanilla or chocolate.
However, pistachio gives that classic flavor. If you loved this creamy no-bake pistachio tiramisu dessert variation, you will enjoy keeping it here.
Try a Different Crust Base
Instead of graham crackers, try vanilla wafers or digestive biscuits.
Each option gives a slightly different taste, yet the bars still hold well.
Add Extra Toppings and Texture
Top with chocolate shavings or toasted coconut for extra texture.
You can also drizzle chocolate sauce. Meanwhile, fans of rich mascarpone-based dessert recipes with smooth texture may enjoy adding a creamy twist.
How to Store and Serve Pistachio Dream Bars
Refrigerator Storage Tips
Store Pistachio Dream Bars in an airtight container in the fridge.
They stay fresh for up to 4 days. Also, keep them chilled until serving for the best texture.
Can You Freeze These Bars?
Yes, you can freeze them for longer storage.
Wrap slices tightly, then freeze for up to one month. However, thaw in the fridge before serving to keep the layers intact.
Craving More Delicious Recipes?
- creamy no-bake pistachio tiramisu dessert variation
- light and refreshing limoncello tiramisu recipe without eggs
- easy layered dessert ideas for special occasions
- no-bake dessert recipes with creamy layers and simple ingredients
- make-ahead chilled desserts perfect for gatherings
Final Thoughts
Pistachio Dream Bars offer a simple yet satisfying dessert option. They combine creamy layers with a crunchy base, which makes every bite enjoyable. Also, the no bake method saves time and effort.
Whether you prepare them for a party or a quiet night, they always impress. In fact, once you try them, they often become a go to treat. For more inspiration, check ideas on Pinterest and keep creating fun desserts at home.