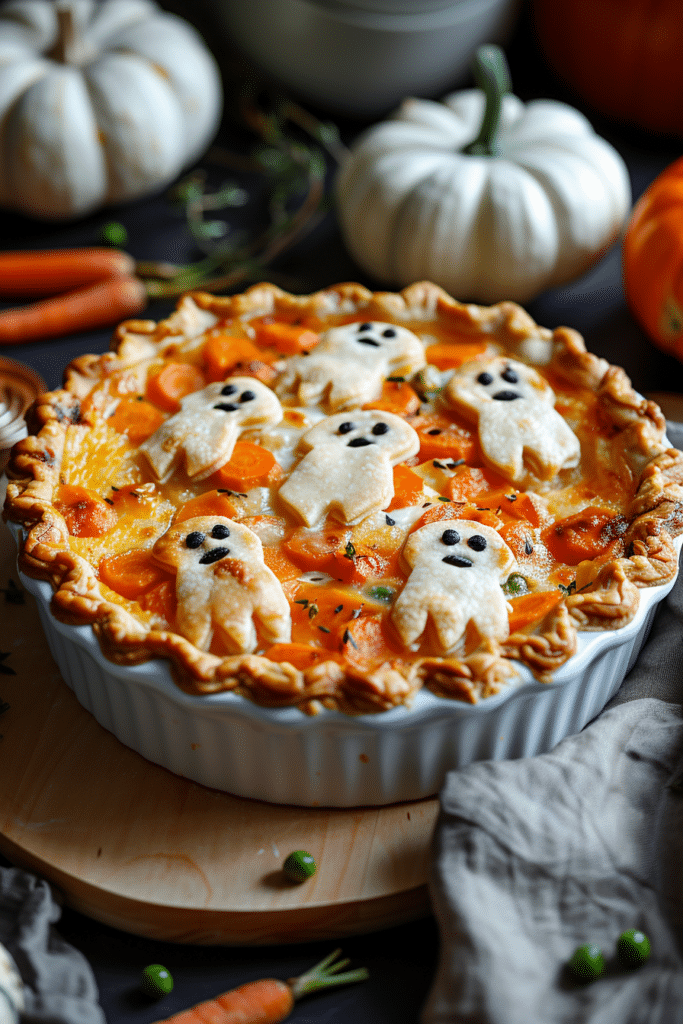
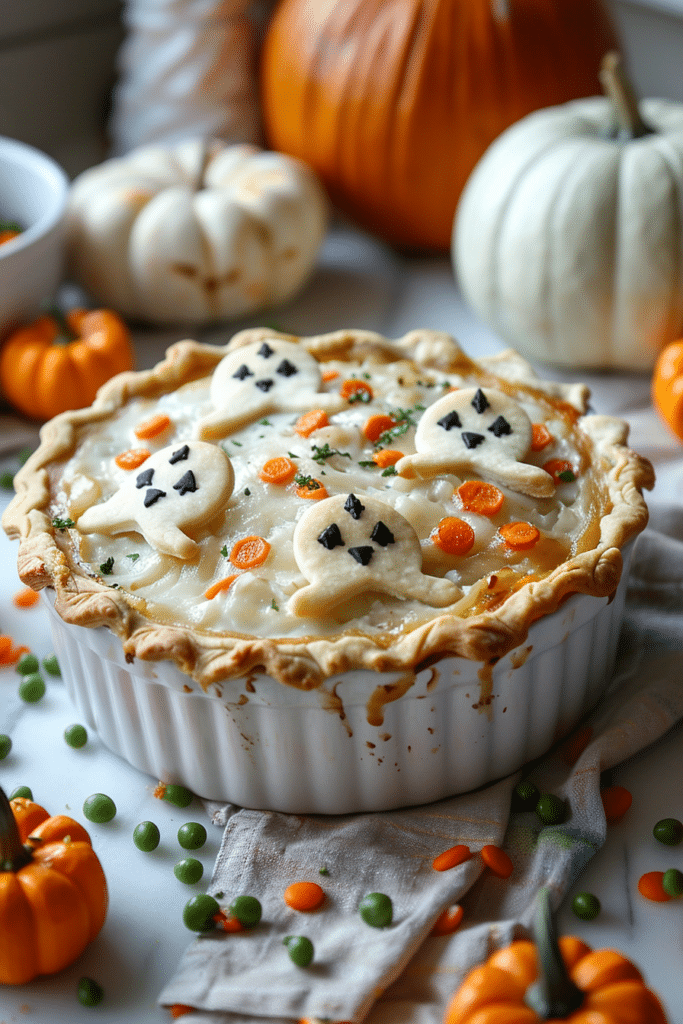
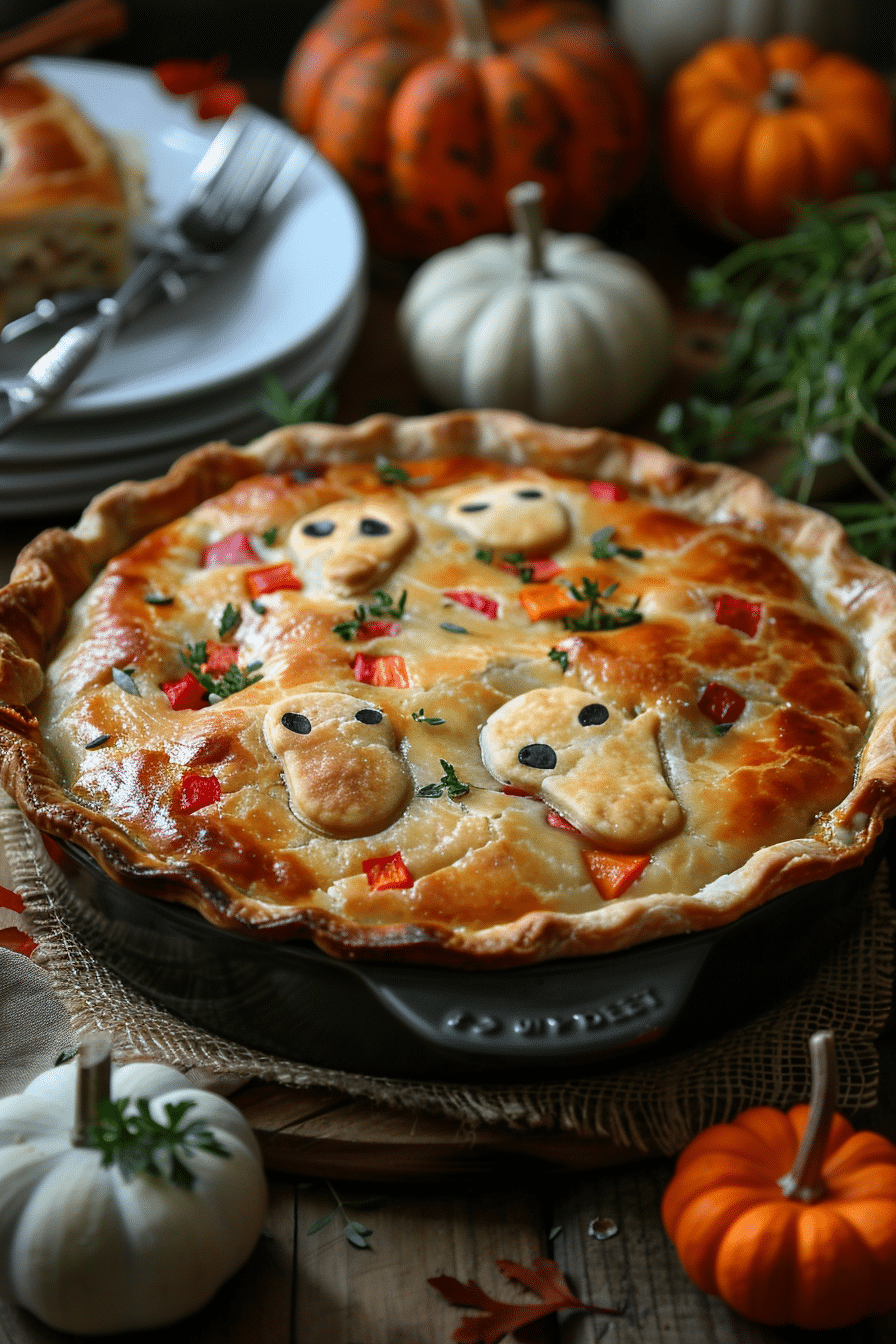
Last year, my kids wanted “creepy food” before trick-or-treating. I had a rotisserie chicken, pie crust, and a ghost cookie cutter. Ten minutes later, this Halloween pot pie was in the oven. The smell? Pure comfort. The look? Perfectly spooky.
Table of Contents
Why This Halloween Pot Pie Is a Must-Make
On Halloween night, I don’t have hours to cook. This pie comes together fast. The filling is rich and creamy. The crust? Covered in floating ghost shapes.
The first time I made it, my youngest tried to “save” a ghost from being eaten. That lasted five seconds. The buttery crust won.
It’s easy, fun, and totally customizable. Serve it alongside something like spooky Halloween sausage skillet dinner for a full themed meal.
Print
Halloween Pot Pie – A Spooky & Savory Dinner for Your Little Ghouls!
- Prep Time: 15 minutes
- Cook Time: 40 minutes
- Total Time: 55 minutes
- Yield: 6 servings 1x
- Category: Dinner
- Method: Baked
- Cuisine: American
Description
I made this Halloween pot pie on a rushed October night. My kids asked for “creepy dinner.” I grabbed chicken, veggies, and a crust. The ghost toppers stole the show.
It looks fun. It tastes like cozy comfort. Serve it with a themed side like spooky Halloween sausage skillet dinner.
Ingredients
1 frozen pie shell (9-inch)
1 refrigerated pie crust roll (for cut-outs)
3 cups rotisserie chicken, shredded
2 cups frozen mixed vegetables
1 (10.5 oz) can cream of chicken soup or 1 1/2 cups thick chicken gravy
1/3 cup milk or broth (to loosen sauce, as needed)
1/2 tsp kosher salt, or to taste
1/2 tsp black pepper
1 egg beaten with 1 tsp water or 2 tbsp milk (optional wash)
Cooking spray (light) for the rim
Tools: ghost cookie cutter, straw for eyes, baking sheet
Instructions
1. Heat oven to 390°F (200°C). Place the frozen pie shell on a baking sheet. Lightly spray the rim.
2. Mix chicken, frozen vegetables, soup or gravy, and milk/broth. Season with salt and pepper. Stir until creamy.
3. Roll the refrigerated crust. Cut ghosts. Pinch a straw to make oval eyes. Chill the cut-outs 10 minutes for sharp edges.
4. Fill the pie shell. Gently press filling to the edges so it’s even. Lay ghost cut-outs on top to “float.”
5. Brush tops with egg wash or milk if you want extra golden color.
6. Bake 30–40 minutes, until the crust turns deep golden and the filling bubbles at the edges.
7. Rest 10 minutes before slicing. The ghosts stay crisp. The filling sets for clean slices.
Notes
Personal note: The first time, my cutter stuck. I laughed and called them “boo-boo ghosts.” The kids loved them anyway.
Make ahead: Assemble, cover, and refrigerate up to 24 hours. Bake cold, adding 5–10 minutes. Freeze unbaked up to 2 months; bake from frozen, adding 15–20 minutes and tenting if needed.
Mini pies: Use ramekins for personal servings. Kids can place their own ghosts.
Crust swaps: Puff pastry works for the top. It bakes up taller and flaky.
Vegetarian option: Replace chicken with sautéed mushrooms and 1 cup cooked lentils.
Party pairing: I serve small slices with creamy pumpkin pasta for a festive fall meal. Guests also love a scoop of monster mac and cheese for Halloween parties.
Tip: Keep cutters cold. Chill the dough 10 minutes before cutting for clean edges.
Nutrition
- Serving Size: 1 slice (1/6 pie)
- Calories: 520
- Sugar: 5 g
- Sodium: 980 mg
- Fat: 30 g
- Saturated Fat: 11 g
- Unsaturated Fat: 17 g
- Trans Fat: 0 g
- Carbohydrates: 37 g
- Fiber: 3 g
- Protein: 24 g
- Cholesterol: 85 mg
Ingredients You’ll Need
Here’s what I grab from my kitchen:
- 1 frozen pie shell
- 1 refrigerated pie crust roll
- Cooked rotisserie chicken, shredded
- Frozen mixed vegetables
- Creamy sauce (chicken gravy or cream of chicken soup)
- Salt & pepper
- Milk or egg wash (optional)
Tools I use:
Ghost cookie cutter, a straw for eyes, pie plate.
Fun swaps:
Turkey instead of chicken. Puff pastry for extra flake. Vegetarian with mushrooms or lentils.
Last year I paired it with creamy pumpkin pasta for a festive fall meal. It was the perfect cozy combo.
Step-by-Step Instructions

1. Prepare the Filling
I shred chicken right into a bowl. Add frozen veggies. Pour in sauce. Stir until every piece is coated.
2. Cut Ghost Shapes from the Crust
Roll out the top crust. Cut ghost shapes. Make eyes with a straw. Chill the dough for crisp edges.
The first time, my cutter got stuck in the dough. I laughed so hard I almost gave my ghosts “battle scars.”
3. Assemble & Bake
Pour the filling into the frozen shell. Gently spread to edges. Lay ghost cut-outs on top. Brush with milk for golden color. Bake at 375–400°F until crust is golden and filling bubbles.
My kitchen smelled so good that the neighbors “just happened” to stop by. Luckily, I had made extra.
Tips for the Best Spooky Pot Pie

- Assemble early and bake later.
- Puff pastry makes it fancier.
- Mini pies in ramekins are great for kids.
When I tried mini pies one year, my son lined them up and named each ghost. Five minutes later, they were gone.
Pair with monster mac and cheese for Halloween parties for the ultimate kid-approved feast.
Serving Suggestions
Serve this hot from the oven with a crisp green salad. Add Halloween snacks—like cheese cut into bats.
Before trick-or-treating, I serve small slices. It fills bellies so candy doesn’t cause a sugar crash.
If I’m hosting, I put it next to a bowl of spooky Halloween sausage skillet dinner for a themed buffet. Guests love the variety.
Halloween Pot Pie FAQ
Can I decorate a pie crust for Halloween?
Yes. Cookie cutters make it easy. I’ve done ghosts, bats, and even pumpkins.
What fillings work best for a Halloween-themed pot pie?
Chicken and veggies are classic. Turkey, beef, or veggie-only work too. My mushroom version was a hit last year.
Final Spooky Thoughts
This recipe is my Halloween dinner tradition. It’s quick, hearty, and makes everyone smile.
If you make it, share your ghost photos. Who knows? Your pie might inspire next year’s table spread.
And if you need more festive dinner ideas, try creamy pumpkin pasta for a festive fall meal or monster mac and cheese for Halloween parties.

