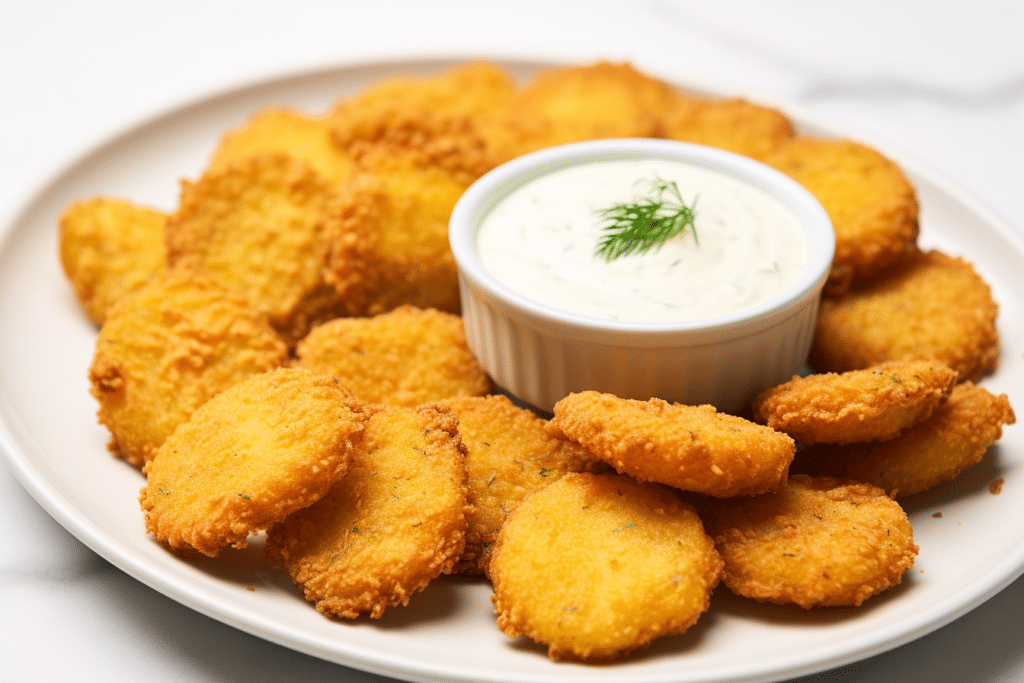
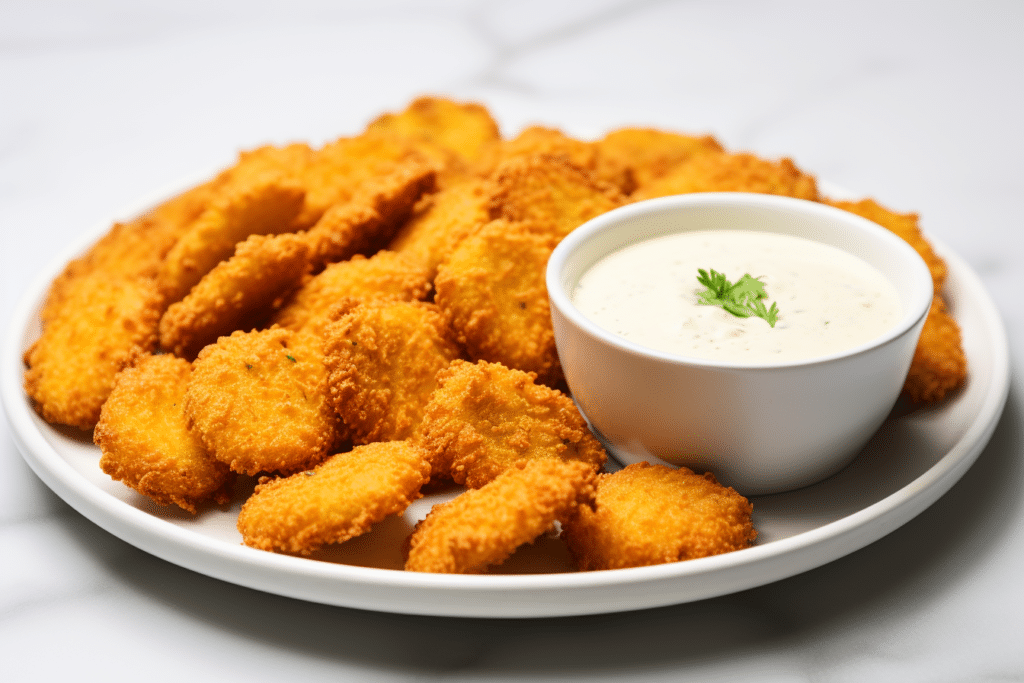
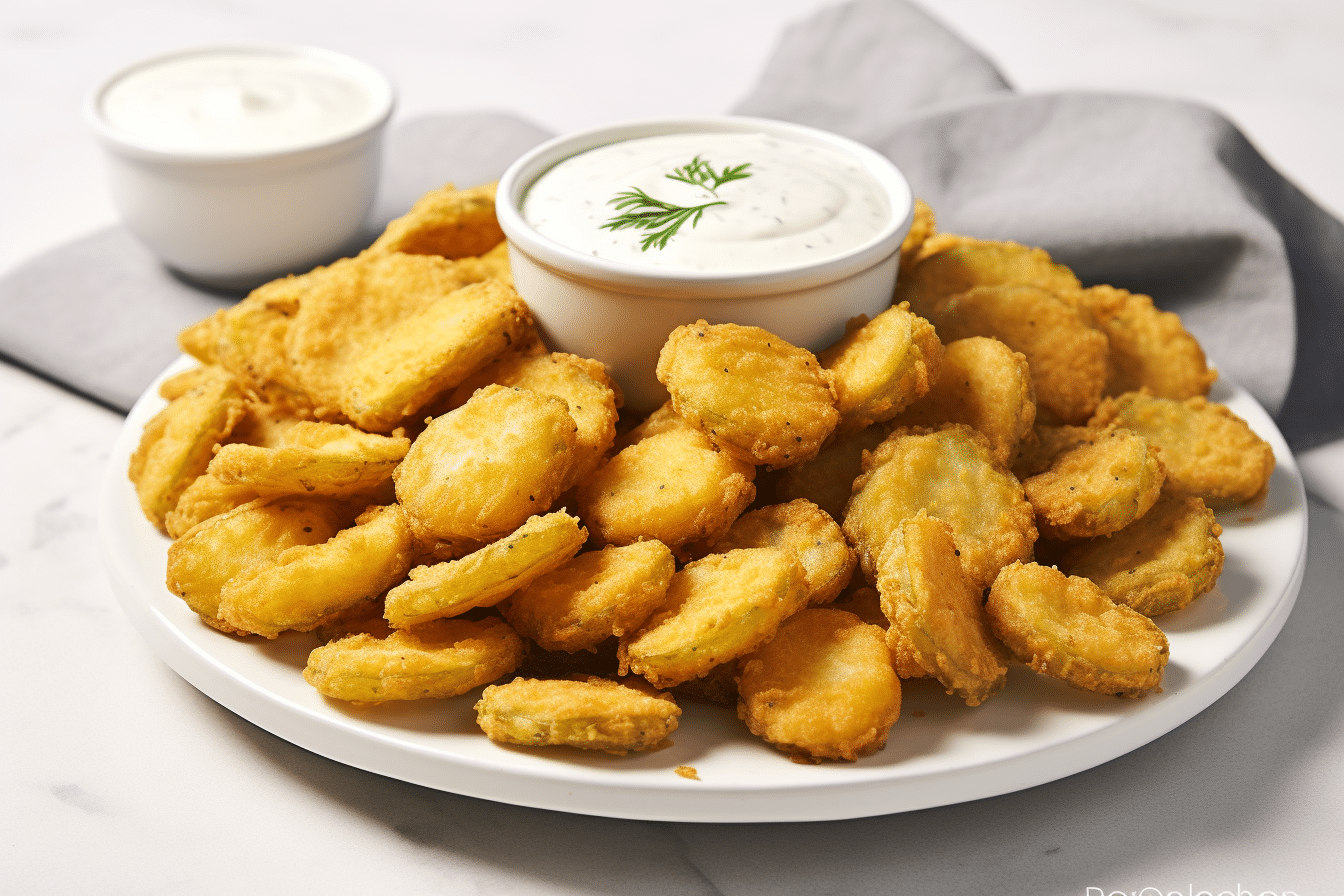
I still remember the first time I tasted fried pickles—at a tiny beachside diner with the scent of vinegar and hot oil hanging in the air. It was crispy, tangy, and wildly addictive. Years later, I decided to keto-fy that memory with these air fryer fried pickles—same golden crunch, zero deep frying, and every bit as snackable.
Table of Contents
Why You’ll Love This Recipe

If you’ve ever been tempted by those golden pub-style fried pickles, this is your guilt-free answer. These air fryer fried pickles give you that same irresistible crunch without the heavy oil or deep fryer mess. They’re quick, insanely tasty, and perfect for game nights, cookouts, or late-night cravings. Plus, you can whip them up in under 30 minutes with pantry staples. They’re that kind of snack—the one that vanishes before you even sit down. Trust me, you’ll want to make extra.
Ingredients You’ll Need
For the Pickles
- 1 cup sliced dill pickles (thicker cuts hold up better)
- 2 large eggs
- 3 tablespoons flour (for coating)
- 1 tablespoon hot sauce (Tabasco or sriracha)
- ½ teaspoon salt
- ½ teaspoon black pepper
- 1 cup panko breadcrumbs (or sub with regular breadcrumbs)
For the Dip (Optional but so worth it)
- ¼ cup sour cream
- ¼ cup mayonnaise
- ¼ cup minced onions
- 1 clove garlic, minced
- ½ teaspoon salt
- ½ teaspoon black pepper
- 1 teaspoon dried dill (optional but adds a great kick)
💡 You can tweak the heat level with your favorite hot sauce, and swap panko for pork rind crumbs for a more keto-friendly version.
How to Make Air Fryer Fried Pickles

- Dry the pickles: Lay them out and pat them really dry with paper towels. This step matters—if they’re wet, the coating won’t stick.
- Make the egg wash: In a shallow bowl, whisk together eggs, flour, hot sauce, salt, and pepper.
- Bread the pickles: Dip each pickle slice in the egg wash, then coat in panko breadcrumbs. Press gently so the crumbs stick.
- Preheat the air fryer to 400°F: Give it a few minutes to heat up while you finish breading.
- Air fry: Place pickles in a single layer in the basket. Spray with oil and cook for 5–7 minutes.
- Flip and repeat: Turn them over, spray again, and air fry another 5–7 minutes until they’re golden brown and crispy.
- Mix the dip: While the pickles cook, stir all dip ingredients in a bowl. Chill until ready to serve.
Hot tip: Sneak a few straight from the air fryer. I won’t tell.
Tips for Perfect Crispy Pickles
- Dry thoroughly: Water is your enemy here—blot those pickles like you mean it.
- Don’t crowd the basket: Give each slice its own space to crisp.
- Panko > regular breadcrumbs: That extra crunch? Totally worth it.
- Serve right away: These are best hot, right out of the fryer.
Want more comfort food with a keto spin? Check out these easy low-carb dinner recipes for cozy nights.
Storage & Reheating
If you’ve got leftovers (doubtful, but hey), store them in an airtight container in the fridge for up to 3 days. To reheat, air fry at 375°F for 3–4 minutes to revive the crunch. Avoid microwaving—they’ll get soggy fast.
Nutrition Information
Each serving (about 1/6th of the batch) has approximately:
- Calories: 167 kcal
- Carbs: 12g
- Protein: 4g
- Fat: 11g
- Sodium: 797mg
Note: Dip adds extra calories depending on how generous you’re feeling.
FAQs
Can I use pickle spears instead of chips?
Yes! Just know you’ll need a little more air fry time—about 2–3 extra minutes per side since they’re thicker.
Why are my fried pickles soggy?
It’s almost always from skipping the drying step or overcrowding the air fryer. Moisture is the enemy of crispiness.
What sauce goes best with fried pickles?
Ranch is classic, but our sour cream and onion dip takes it up a notch. Chipotle mayo or garlic aioli are great swaps, too.
Looking for more warm comfort? Browse our healthy soup recipes to keep you warm or try our vegan-friendly low-carb meals packed with vegetables.
Final Thoughts
These air fryer fried pickles check every box: crunchy, spicy, low-effort, and just plain fun. They’re one of those snacks that hit the table and disappear in minutes. Whether you’re hosting a party or just craving something salty and crispy, you’re going to want to keep this recipe in your back pocket. Give it a try, leave a review, and don’t forget to pin it on Pinterest!

